
Making a teething toy for your own baby or handmade shop couldn’t be easier! Carefully follow our step by step tutorial on how to make a safe and secure teething wheel toy!
Supplies Needed:
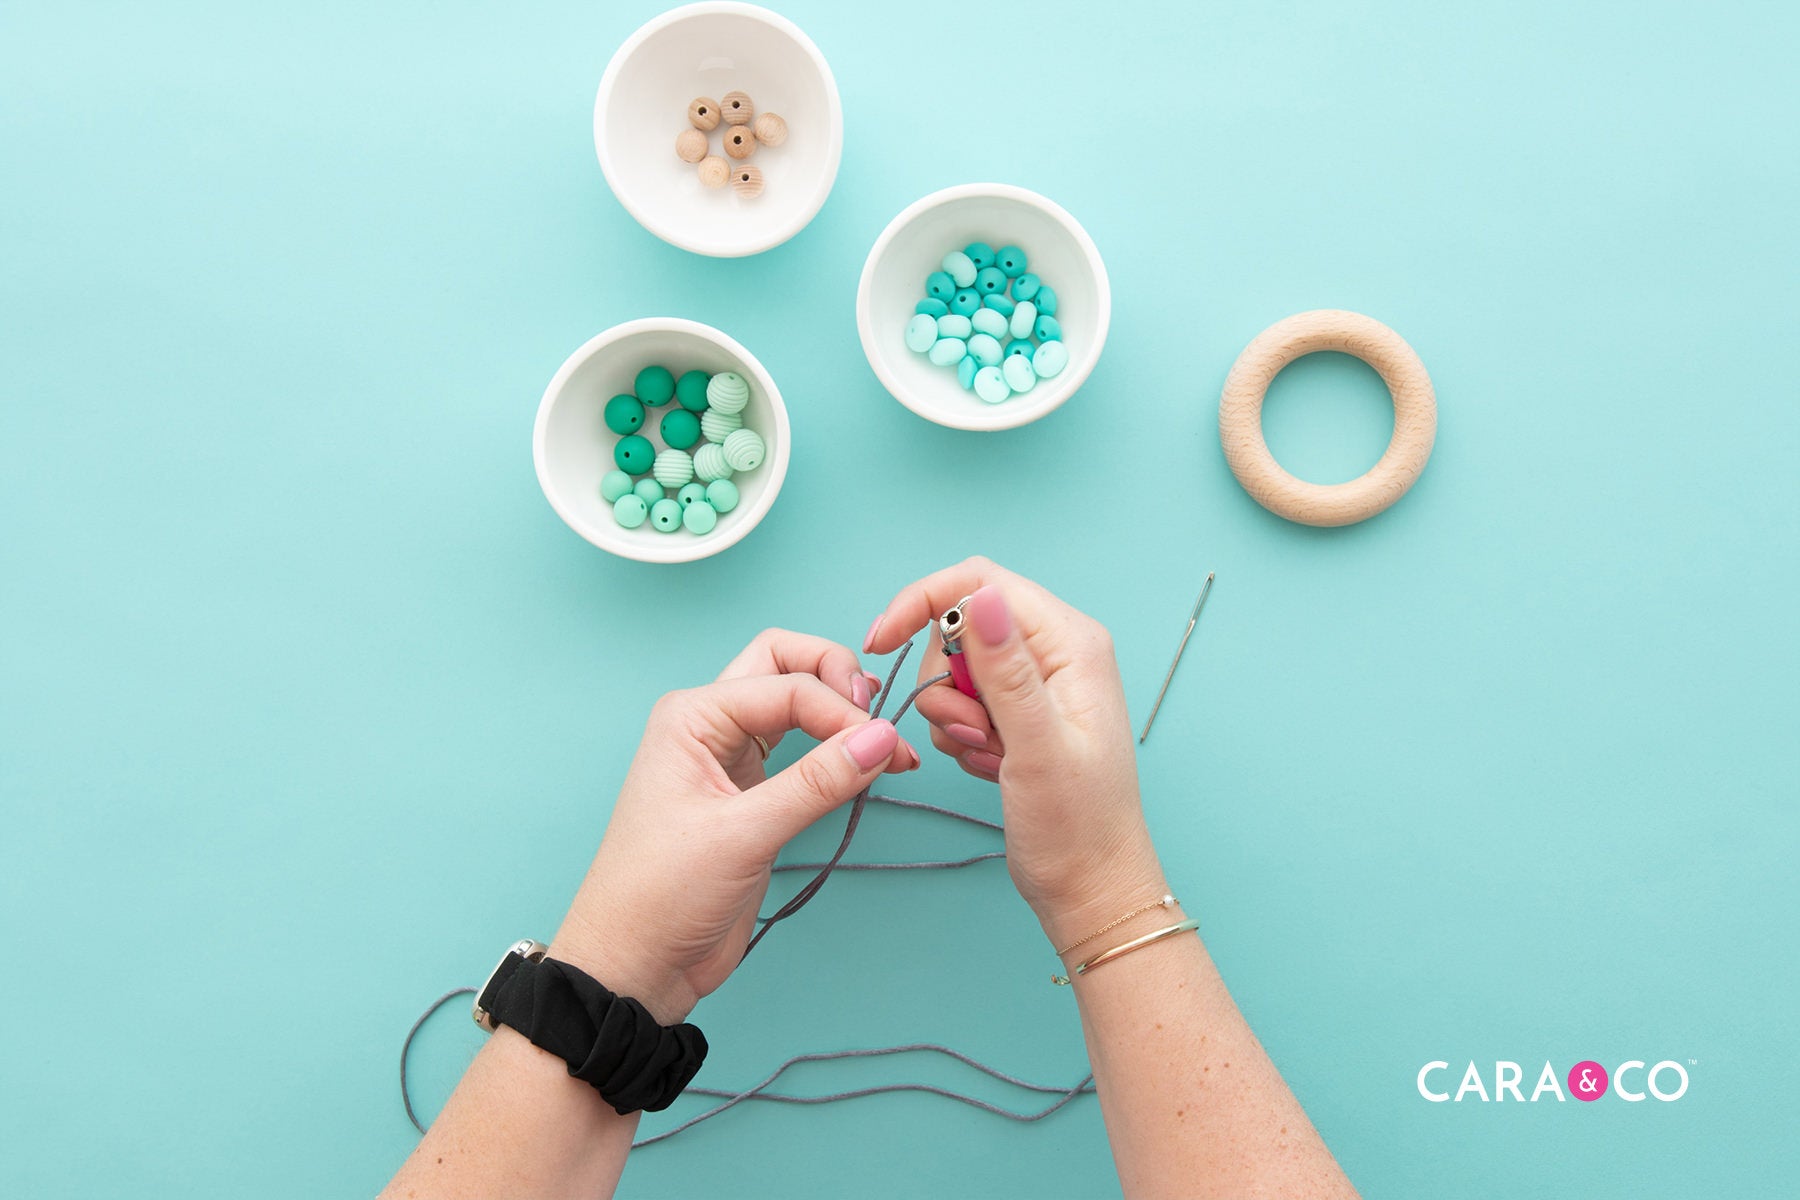
- 5x - 15mm Round Silicone Beads
- 7x - 12mm Round Silicone Beads
- 10x - 14mm Abacus Beads
- 5x - Beehive Beads
- 12x - Saucers
- 7x - 12mm Beech Wood Round Beads
- 1x - 2.35” Beech Wood Ring
- 1x - 3.20” Beech Wood Ring
- 2x - 60” Nylon Cord
- Crafting Needle
- Lighter
- Scissors
- Pliers (can be purchased as part of our Crafting Tool Set)

Instructions:
1. Taking one of your lengths of cord, run your lighter over the 2 ends. This will make it easier to thread your beads on.
2. Fold the cord in half and at the middle point, and loop the cord onto your largest wooden ring.


3. Thread both ends of the cord onto your needle and place x1 15mm round bead onto the cords, snug against the wooden ring.

4. Take the needle off your 2 cords and separate the cords. We now will be working with one cord at a time.

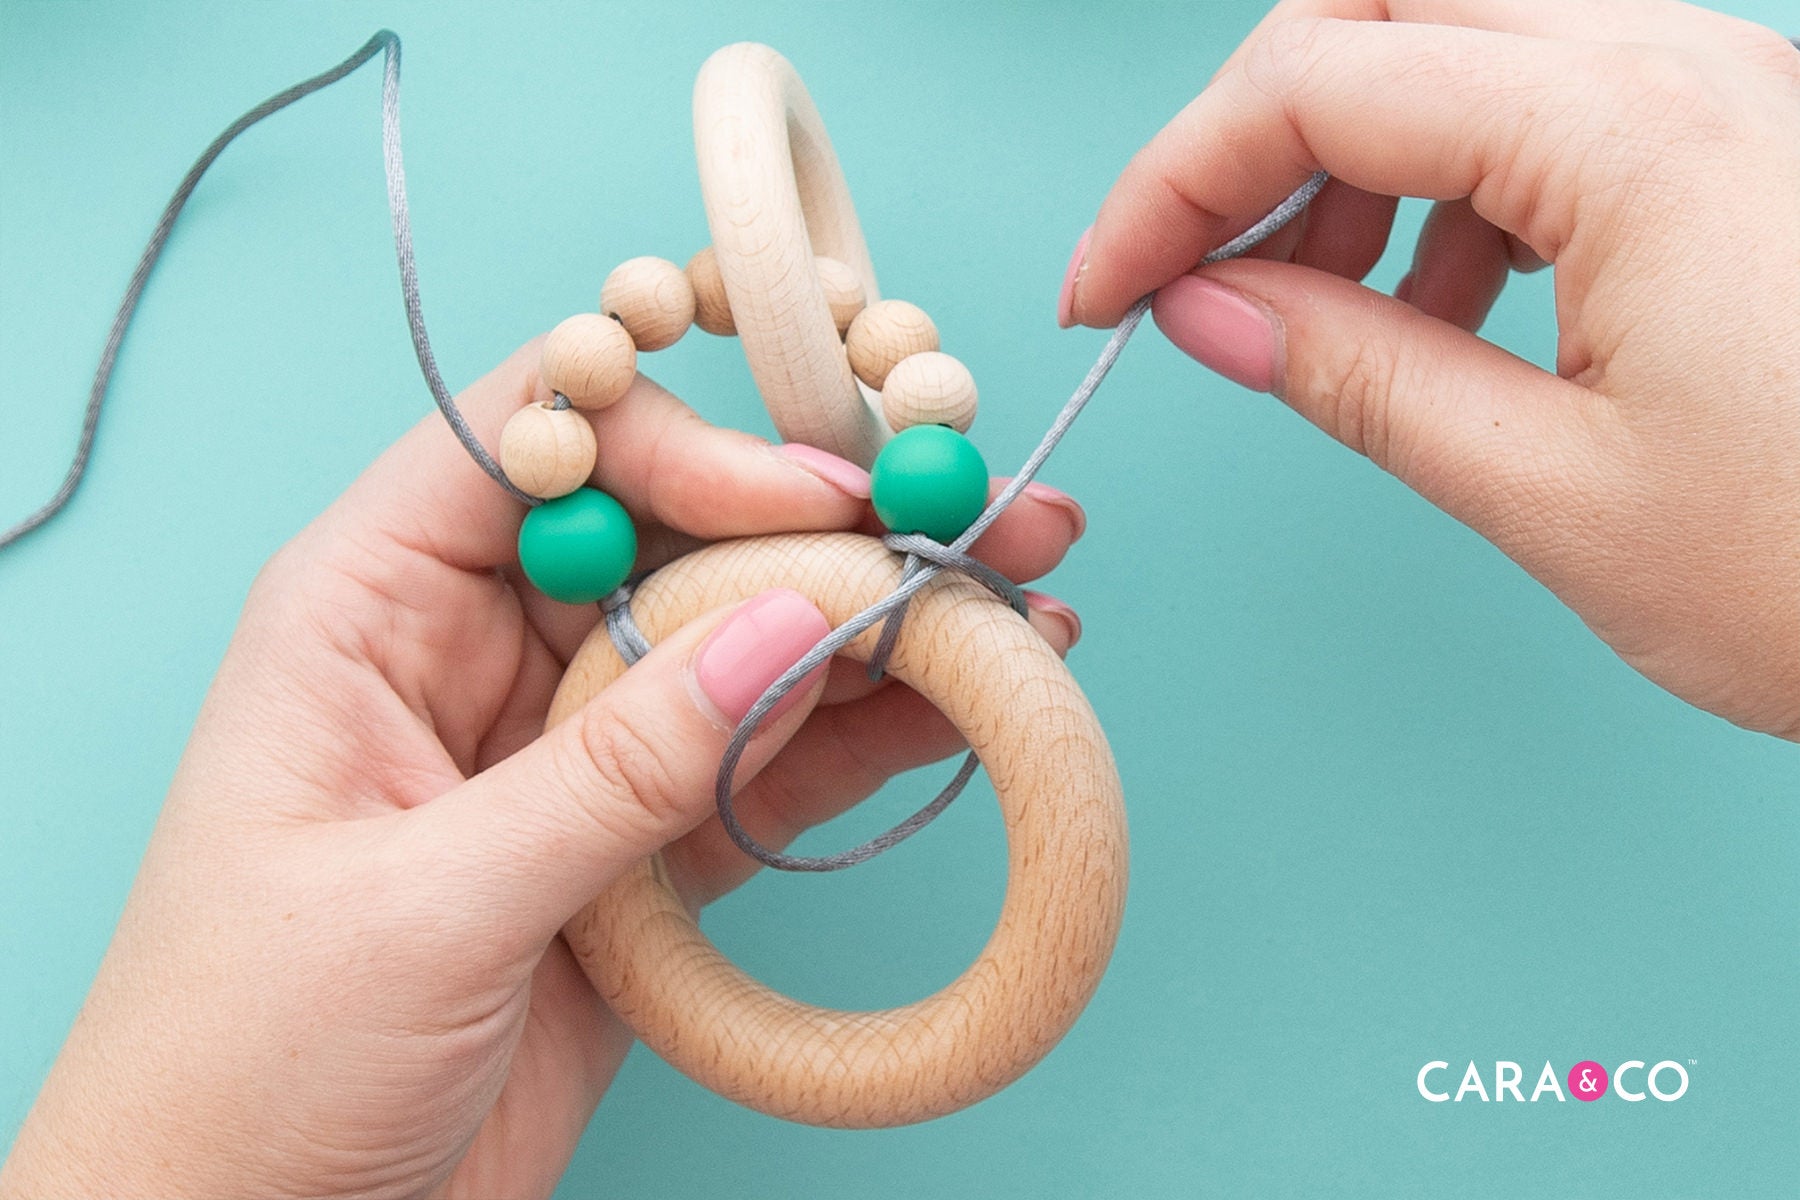
5. Taking the cord on the right hand side, thread on the x7 12mm beech round beads and the 2.35” beech wood ring.

6. Thread on x1 15mm round silicone bead, and place the cord over top of the large middle ring about 1” from the original loop you secured to the wooden ring.

7. Bring the cord down through the ring, behind the ring, and back towards the front through the looped beaded section. Now cross the cord overtop the beaded section, making sure the cord goes between the 15mm bead and the wooden ring.


8. Move the cord behind the wooden ring, and bring it up through the ring. Taking the end of the cord, thread it through the loop you created earlier between the 15mm bead and the wood ring. Pull tightly.

9. Thread your needle once again and push it up through that 15mm bead. Pull tightly again.

10. You now have one complete looped beaded section on your initial cord you started with. Repeat this same process one more time on that same cord on the right hand side with the abacus beads, and 2 times on the left hand cord using the saucers first, then the 12mm rounds. Try to keep the spacing even between the looped sections on the wooden ring.


11. You should now have an equal length of cord on either side.

12. On one of the cords, thread on 3 of your beehive beads, and put the remaining 2 on the other cord.

13. Tie a tight double or triple knot, pulling as tight as you can. If you have knot grippers you can use them to make sure that the knot is tight. Lightly fuse the knot with your lighter.


14. Thread your crafting needle onto one of your cords, and thread it through one of the beads that is beside the knot. Pull the knot into the middle of the bead. (You might need pliers to help pull the needle through.) You should have a cord on either side of the bead.


15. Trim both ends of the cord as close to the bead as possible. Lightly melt the ends of the cord to prevent fraying.


16. Take your other 60” length of regular cord, and lightly run you lighter over the ends to make threading your beads easier. Carefully thread your crafting needle onto one end of the cord.


17. Find the middle bead in the loop beaded section that is made up of 12mm round silicone beads. Thread your needle and cord through this bead and the ones beside it up until the 15mm bead, leaving a tail about 8” long on the end. (This is where we will come back around to tie the cords together.)


18. Place your needle down into the 15mm bead, making sure to also go under the cord that is looped between the 15mm bead and the wooden ring.


19. Bring the cord through the wooden ring, and around to the back side of the toy, and insert the needle up into that same 15mm bead, ensuring that the cord stays in the middle of the 2 outer cords. Pull tightly!


20. Continue traveling along through the remaining beads following this same process until you come back to where you started, pulling tightly as you go. Be careful when you meet the knot inside the beehive bead. Carefully use your needle to go around it inside the bead without pushing the knot outside of the bead. If that happens, gently slide the beehive bead back over the knot to rehide it.

21. Tie another tight double or triple knot and lightly fuse the knot with your lighter.

22. Thread your crafting needle onto one of your cords, and thread it through two of the beads that is beside the knot. Pull the knot into the middle of the first bead. (You might need pliers to help pull the needle through.) Threading your needle onto the other cord, insert it into one bead beside it in the opposite direction of the knot. You should have a cord on either side of these three beads. Carefully trim the ends as close to the bead as possible and lightly fuse to prevent fraying.


Voila! You have completed your teething wheel toy!


We hope you enjoyed this teething wheel toy tutorial! Be sure to tag us on instagram if you make your own using #createdwithcarasupply. We love seeing your creativity!
Happy Crafting!
Xo
-the girls
*At Cara & Co, we take safety seriously. We have had our custom tutorial design above third-party tested by a CPSC accredited testing lab to ensure it meets compliance standards for Canadian (SOR/2011-17) and US (ASTM F963-17) children's toy requirements. However, this does not remove the responsibility of each customer to ensure that the products they create from this tutorial are tested and meet all relevant compliance standards.
**The products, materials, and supplies sold by Cara & Co. Silicone Craft Supply are intended for use by adults and should never be left unattended with a child.
***Small objects and beads can present choking hazards to young children. Never leave a child unattended with beads or other products. Always dispose of any damaged product. No product is completely indestructible, and fully formed teeth could potentially damage product if chewed aggressively, so responsible attentiveness is needed for any user or purchaser. Customers should always inspect and monitor their products, discontinuing use at the first sight of damage.
****Once our products have been sold and shipped to our customers, Cara & Co Silicone Craft Supply Inc., waives all responsibility and liability from the use of our products. Customers are responsible that their final products made from our supplies meet the appropriate safety requirements for their region. Our buyers understand that by purchasing our products or using suggestions from the above tutorial, the buyer assumes any and all responsibility and liability for the use of the products.
*****Cords, clasps and pacifier clips are not intended to be chewed on and may present choking hazards.