Nothing says appreciation more than a handmade gift! Necklace Lanyards are a great gift! You can make them personal by colors, focal beads, and designs. Plus, they don’t require a lot of materials and can be made in about 5 minutes! Literally!


You can make a necklace lanyard clip out of silicone or acrylic beads, however make sure you pay attention to hole sizes on your acrylic beads if you’re following this tutorial! Some smaller sized acrylic beads will not fit on our nylon cording.

Before you get started make sure you check out our only-found-here Cara & Co Originals for the most unique beads on the market - you won’t find these anywhere else!
Let’s get into it!
Supplies needed:
- 1x 60” length of Nylon Cording
- 1x set of Breakaway Clasps
- 1x Small Lanyard Clip or J-Hook Lanyard Clip
- Approx 3-7 beads of your choice (Silicone or Acrylic will work!)
- Scissors
- Crafting Needle
- Lighter

Step By Step Instructions:
1. Start by folding your 60” length of cording in half.

2. Take that halfway point loop, and slip it into the hook on your lanyard clip.
3. Thread the loose strings on the other side of the clip through your string loop. Pull to snug up your loop knot.

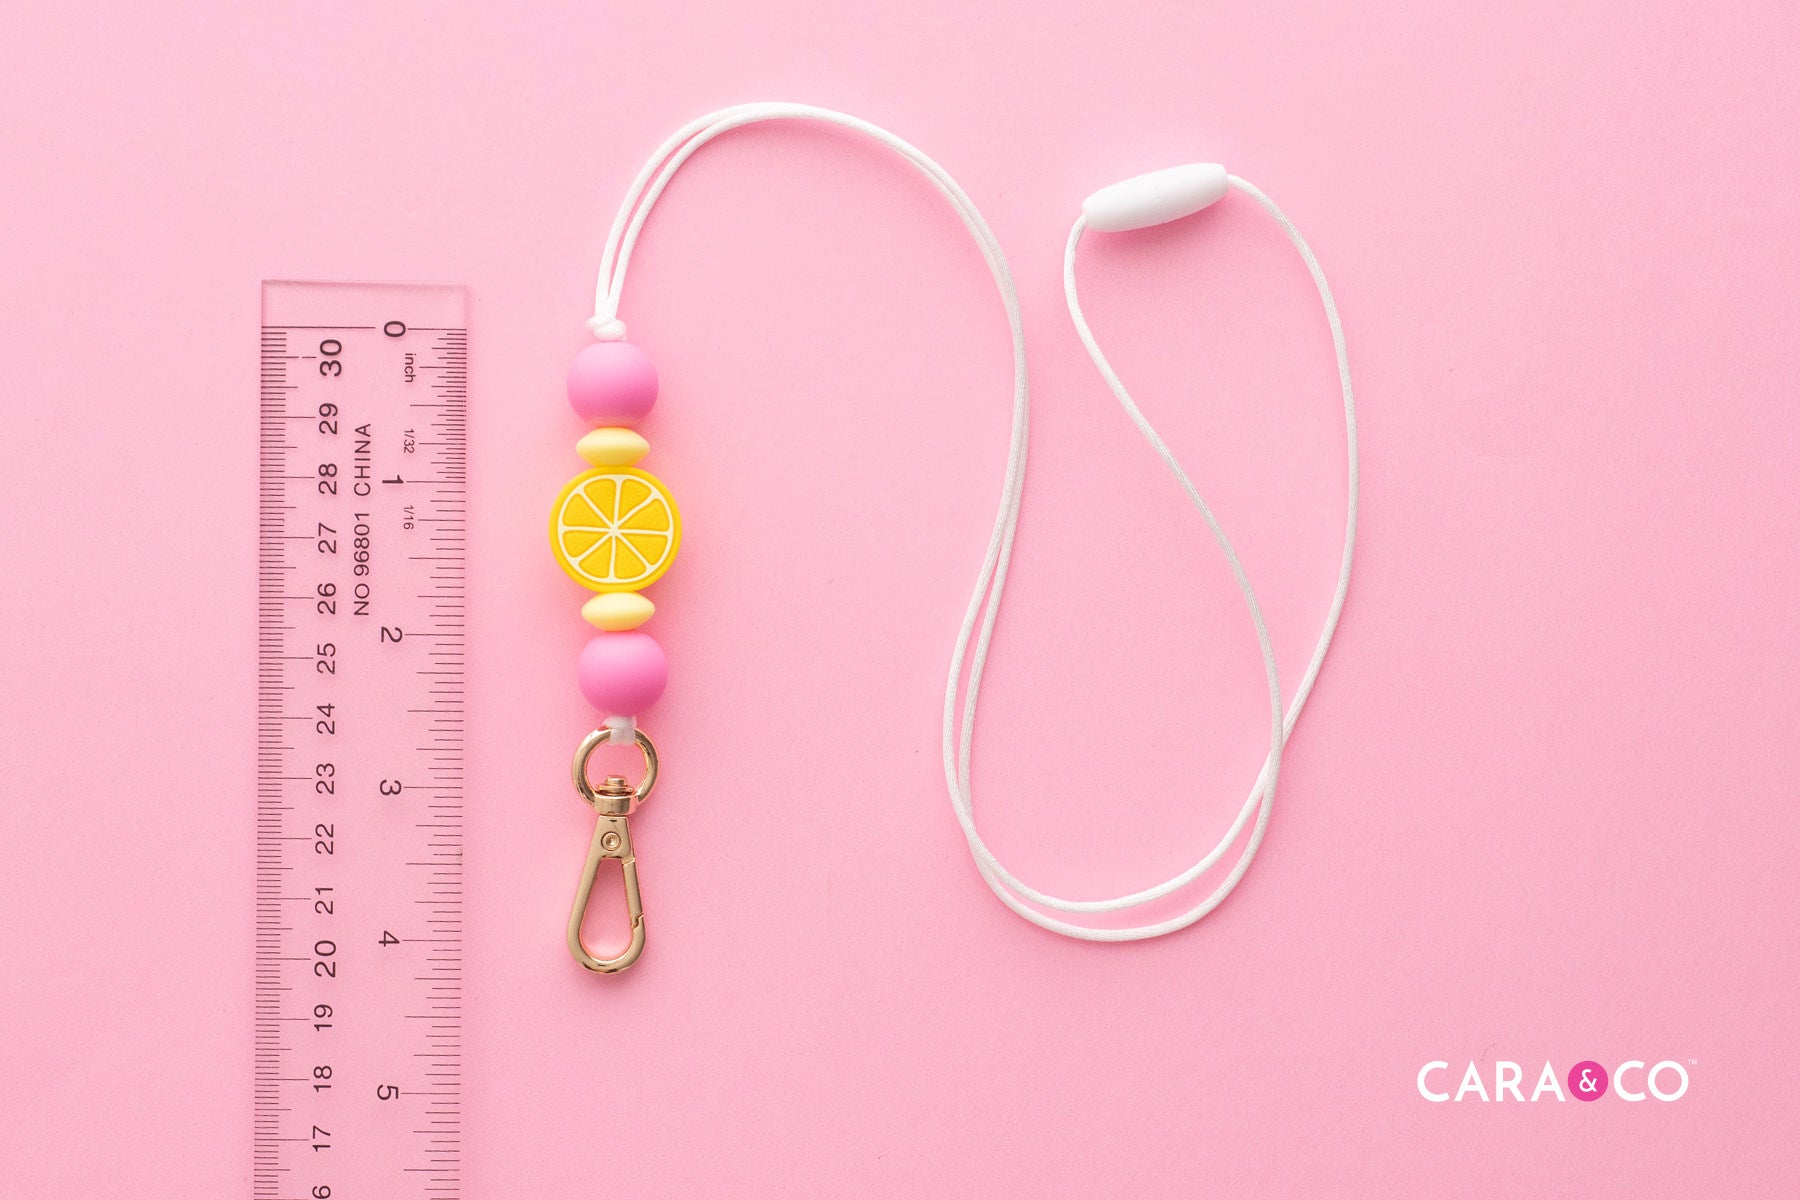
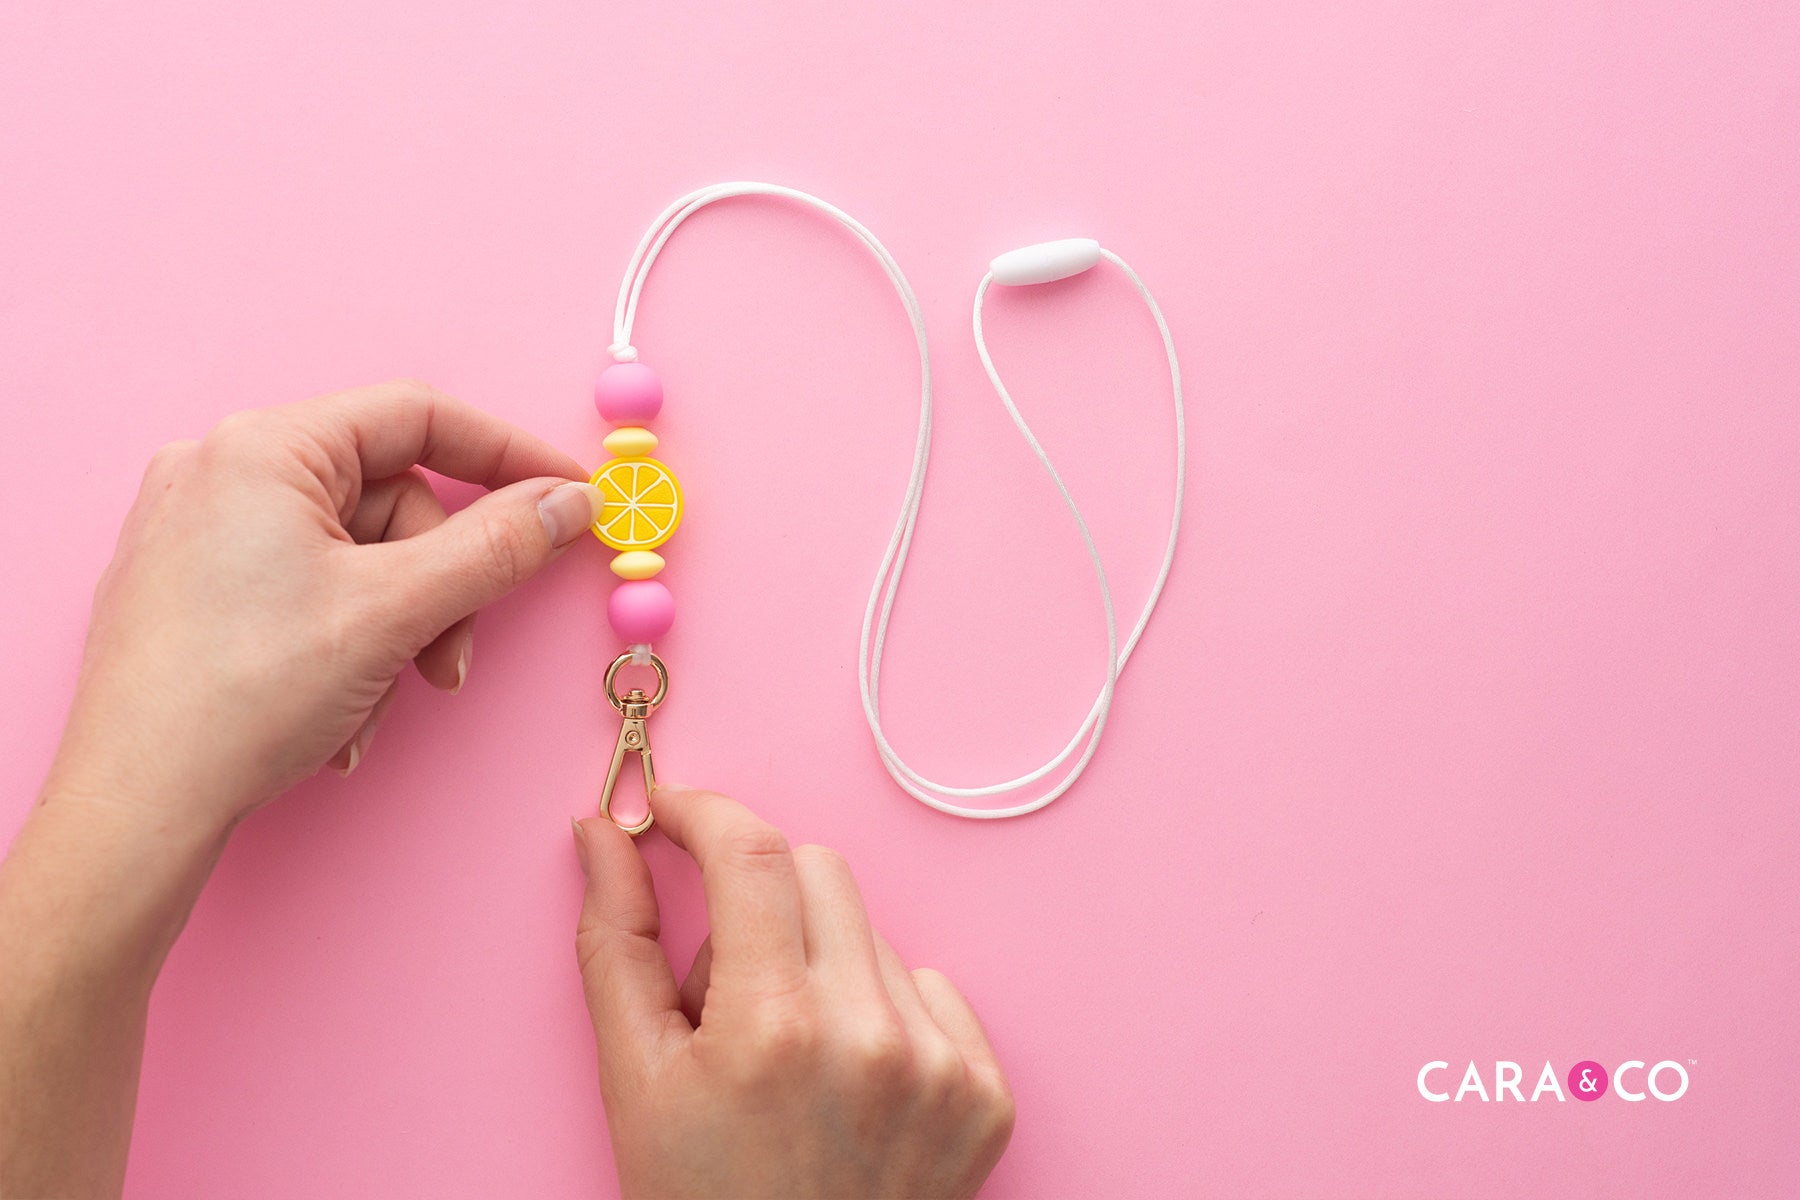
4. Thread your crafting needle onto your nylon cording and thread on your beads in the order you prefer. We suggest your beads not exceed 3-4” in total length.


5. Tie a knot following your last bead to ensure your beads don’t move.

6. Remove your crafting needle, and slip on to each string each half of your breakaway clasp. Push them towards your beads so that you can work freely with the ends of your string.

7. Measuring about 15 1/2" in length (from the knot at the end of your beads), tie a small single knot on both ends of your string.

8. Trim your string and run your lighter over the knots to fuse and secure them.

9. Slip your breakaway clasps over the knots and close up your necklace.


That’s really all it takes - with a handful of supplies you can make a thoughtful and impactful gift. Especially for teachers, nurses or other professions where passcards and ID badges are used, Necklace Lanyards are a great way to keep documents or passes close!

Come back and craft with us again! We’re always designing more tutorials and we can’t wait to get creative with you again!!
Make sure you tag us on social media using the hashtag #createdwithcarasupply! We love seeing the beautiful products you make!
Happy Crafting!
Xo
-the girls
*The products, materials, and supplies sold by Cara & Co. Silicone Craft Supply are intended for use by adults and should never be left unattended with a child.
***Small objects and beads can present choking hazards to young children. Never leave a child unattended with beads or other products. Always dispose of any damaged product. No product is completely indestructible, and fully formed teeth could potentially damage product if chewed aggressively, so responsible attentiveness is needed for any user or purchaser. Customers should always inspect and monitor their products, discontinuing use at the first sight of damage.
****Once our products have been sold and shipped to our customers, Cara & Co Silicone Craft Supply Inc., waives all responsibility and liability from the use of our products. Customers are responsible that their final products made from our supplies meet the appropriate safety requirements for their region. Our buyers understand that by purchasing our products or using suggestions from the above tutorial, the buyer assumes any and all responsibility and liability for the use of the products.
*****Cords, clasps and pacifier clips are not intended to be chewed on and may present choking hazards.