We love switching up our car diffusers each season, and these beautiful and petite macrame care diffusers were just the ticket for fall scents! Yep, decorating isn’t just for the house ;)

Supplies Needed:
- Wood dowel
- 3mm macrame (5 lengths of 25”, 1 length of 12”)
- 16mm Wood beads (with 8mm hole)
- Wood Saw or Utility Knife
- Scissors
- Tape
Step-by-Step Instructions:
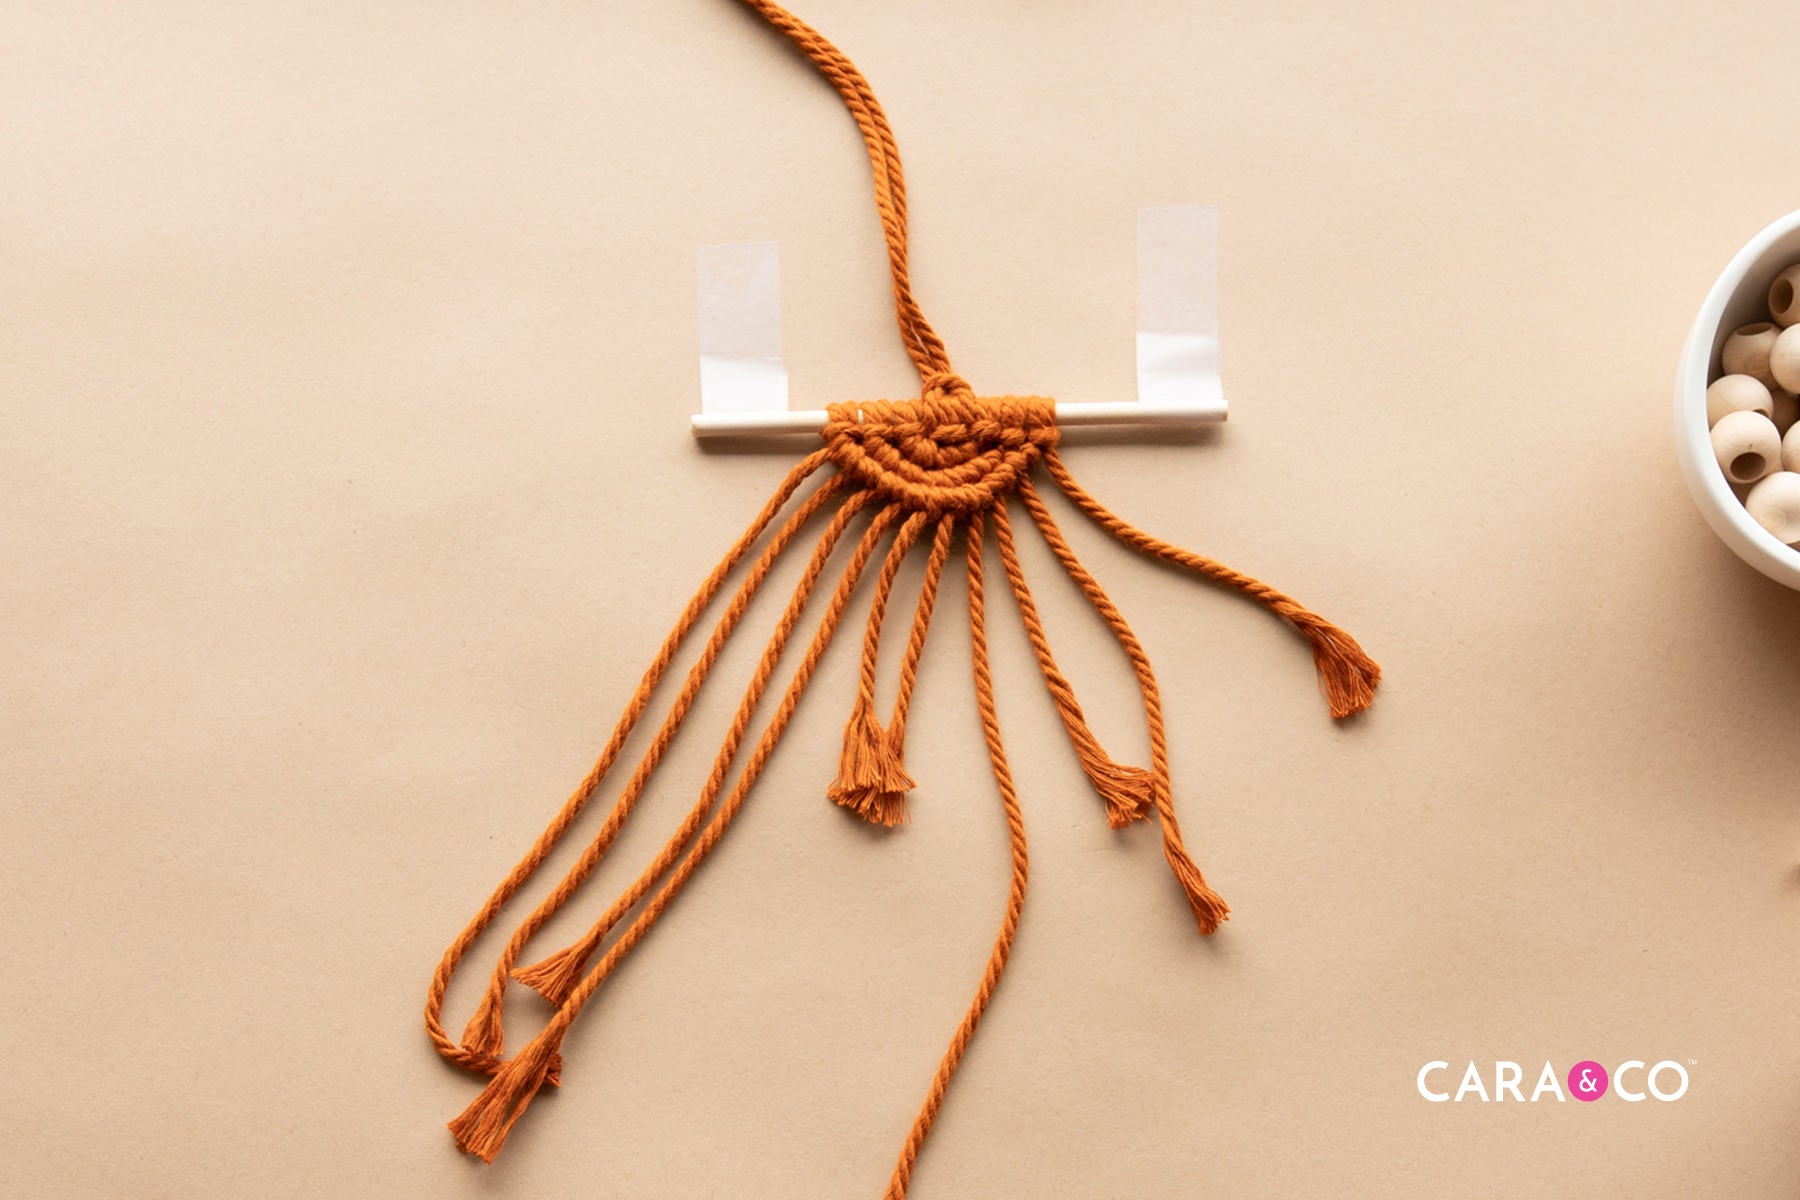
1. Tape down your wooden dowel to the surface you’ll be crafting on. You can either pre-cut your length to the size you prefer (we ended up with a 3” long dowel), or you can trim it down after your macrame hanging is made.
2. Take one of your lengths of 25” and fold it in half.

3. Lay your loop over the wood dowel, and pass the ends through the loop. Tighten up on the wood dowel.

4. Do this again so that you have two knots beside each other.
5. Slide your knots apart, keeping the right knot centered.

6. Flip the ends of the right knot UP and over the dowel. Fold in half another length of 25” and lay it underneath your right knot, behind the dowel.


7. Take your loose ends on the right knot and pass them through the other loop laying behind the dowel. Tighten the knot up.


8. Twist the entire knot so that the back side faces forwards. This will make your loops and knots look more uniform.

9. Take your far left working end and fold it over the second strand in a 4 shape. Pass the second strand over the first and through the hole created. Holding the first strand taught, synch up the right strand so that it creates a looped looking knot. Repeat this once more with the same strands. This knot is called a Larks Head.


10. Take your second and third strands and complete another 2 Larks Head knot. Continue working until you are out of strings.

11. Loop your last strand over the dowel, and back through the loop created. Pass the strand under the dowel again, through the loop again, and tighten.


12. Take another one of your 25” lengths and loop it onto the dowel in the same fashion as step 2, on the left side of your hanging.


13. Continue creating Larks Head Knots, making sure that the furthest left strand is your lead strand. Do 3 Larks Head Knots.

14. Taking your lead strand, loop your short 12” length onto it. Do this by folding your piece in half, laying it under the lead strand, and feeding the ends through the loop. Tighten this up and push it up. Leave these strings hanging.


15. Take your lead strand and continue making Larks Head Knots being sure not to use the newly added strands.


16. Take your lead strand, and repeat step 10.

17. Repeat steps 11 & 12, but do not add any new strands.


18. Repeat step 10 to loop your lead strand back onto the dowel.


19. Remove your hanging from the tape. Add a wood bead to your hanging strand at the top, and finish with a simple knot.
20. Trim your ends. Drop your favorite essential oil on the macrame, and hang up for a perfect fall addition to your car or van.


We hope you loved this cute little hanging as much as we did! If you try this out make sure you tag us on Instagram using #createdwithcarasupply
We’d love to see what you make!!

Happy Crafting!
Xo
-the girls
2 comments
Hi Amy!
Thanks for your question! We use a twisted macrame cord. :) Happy crafting! Xo
What cord do you use? Braided or twisted?